API keys authenticate model requests. Manage them from the API Keys page in the Dashboard.
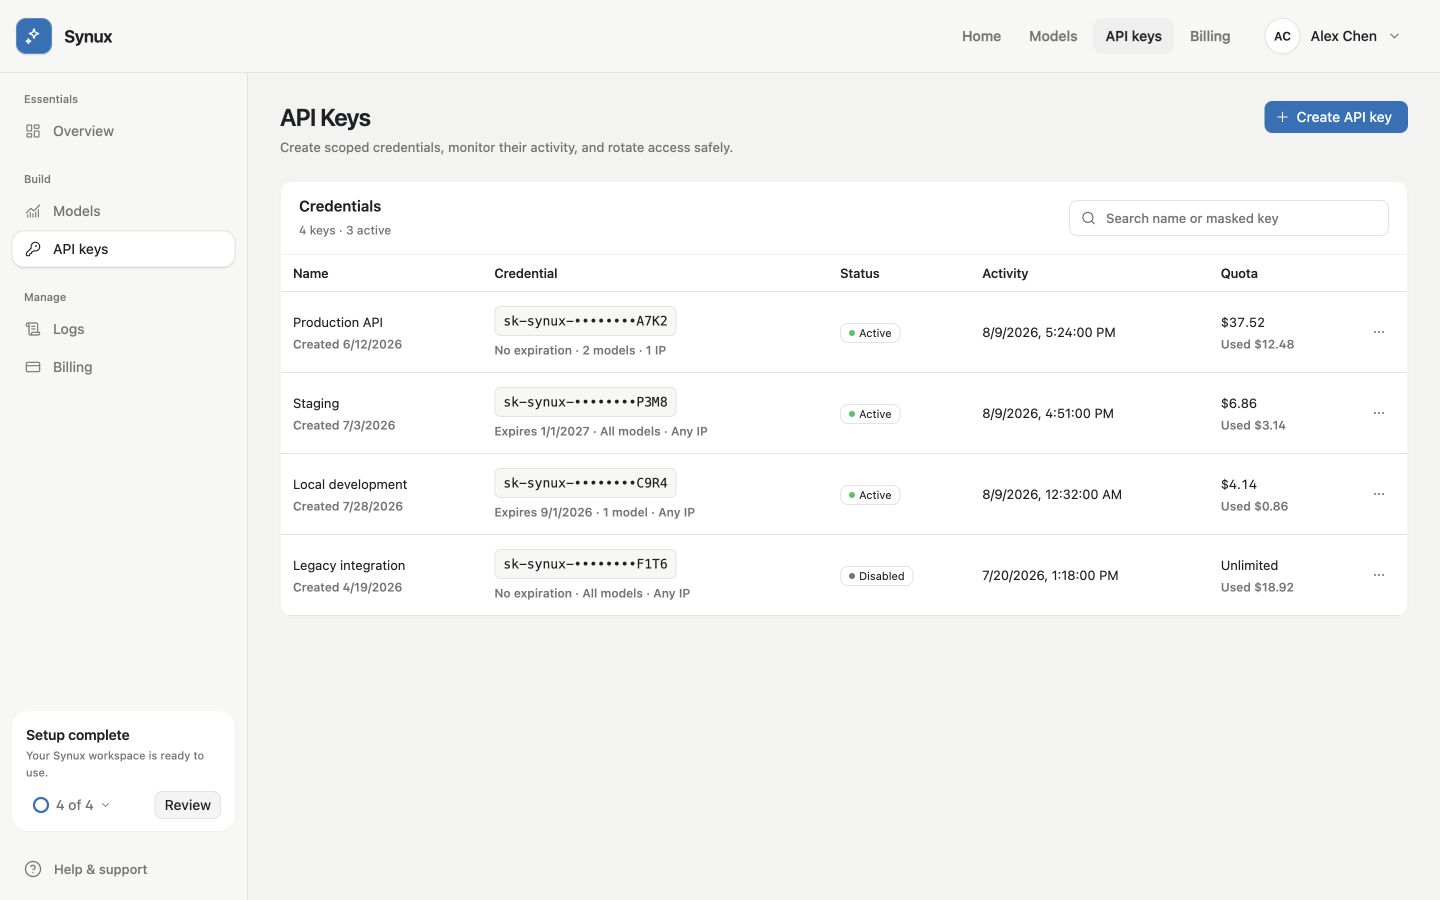
Keep separate credentials for each workload and review status, activity, and quota in one place. Every value shown is sample data.
Create a key
- Choose Create API key.
- Give the key a name that identifies its workload or environment.
- Add restrictions if the workload needs them.
- Create the key, choose Reveal, and copy the secret into a secret store.
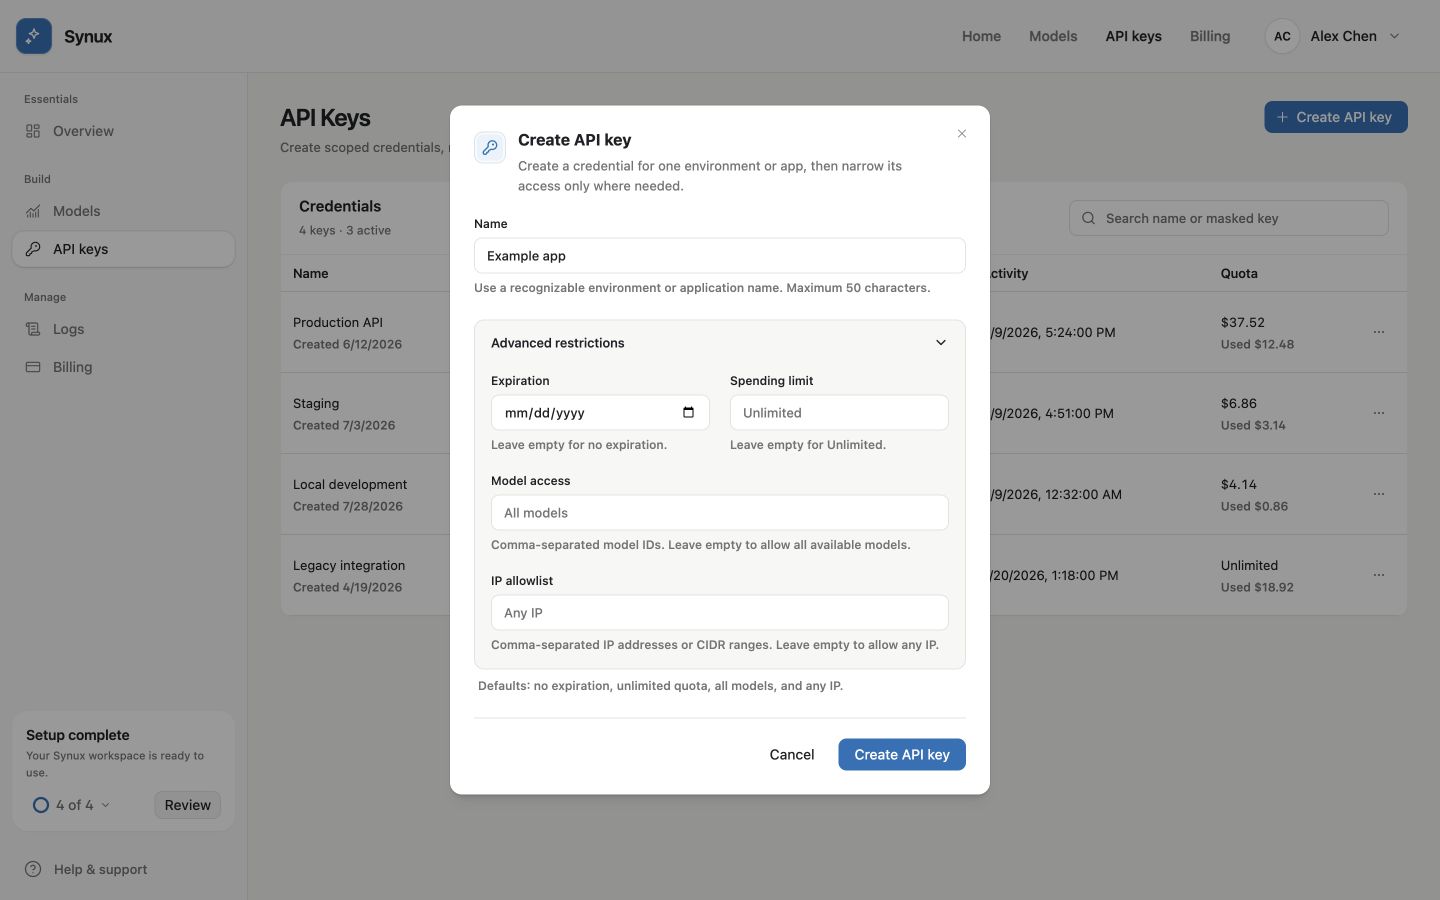
Open Advanced restrictions to limit expiration, spend, model access, or source IPs before creating the key.
The key list only displays a masked value. Do not rely on the Dashboard as the place where your application retrieves secrets at runtime.
Available restrictions
| Restriction | Use it for |
|---|---|
| Expiration | Short-lived projects, contractors, and temporary environments |
| Spending limit | Bounding the maximum spend for one key |
| Model access | Allowing only an explicit list of model IDs |
| IP allowlist | Accepting requests only from known IP addresses or CIDR ranges |
Leaving a restriction empty means no restriction of that type. Account balance, platform availability, and other account-level controls still apply.
Store a key
Pass the key to server-side code through an environment variable or a managed secret store:
export SYNUX_API_KEY="your-api-key"Do not place keys in:
- Git repositories or committed
.envfiles - Frontend environment variables bundled into browser code
- Mobile or desktop application packages
- Logs, analytics events, issue reports, or screenshots
Rotate a key
Rotate without downtime:
Create a replacement
Give it the same restrictions as the current key, then store the new secret.
Update the workload
Deploy the replacement and confirm successful requests in Dashboard logs.
Disable the old key
Disable it first. Delete it after you have confirmed that no callers still depend on it.
If a key may be exposed, disable or delete it immediately before investigating.